This guide will show you how assign a scene to a group and how to manage this during the session. This guide will take you through this process step by step.
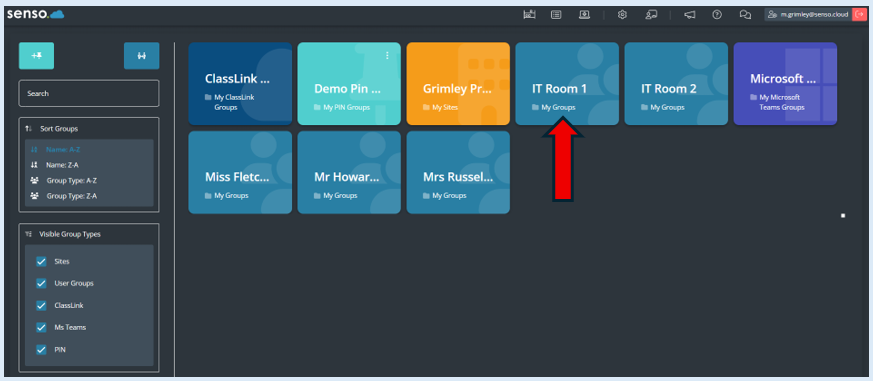
Once logged in to your console you will need to select the group that you will be working with. The group that is being selected for this example is ‘IT Room 1’.
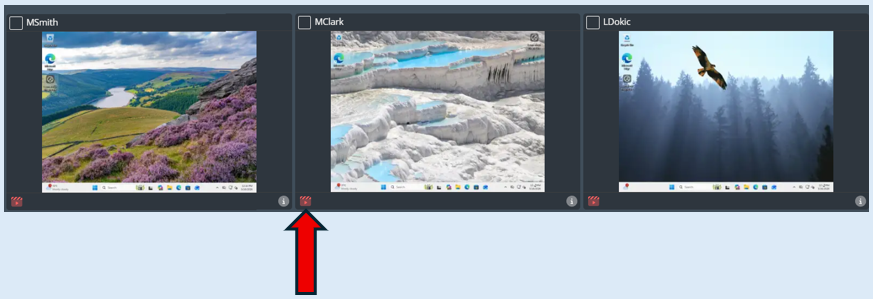
Once selected you will be directed to your ‘Thumbnail View’ within your console.
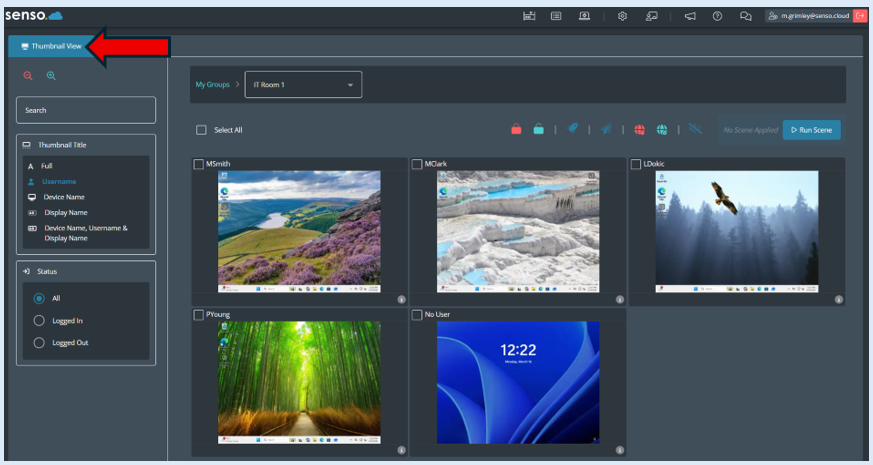
All of the devices that form this group will be visible as thumbnails, this will include any devices that are not currently logged into.
You will now need to select the ‘Run Scene’ option.

This will then provide you with a drop-down list of all scenes that you have created previously.
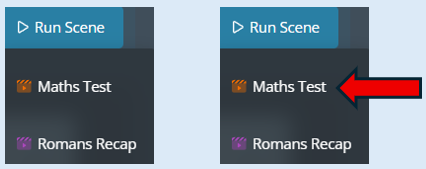
Select ‘Maths Test’.
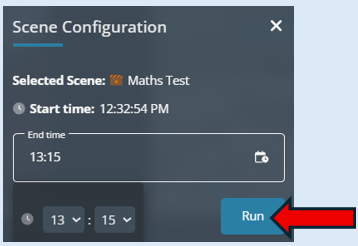
This will open an additional options box. This will ask you to select a time that the scene will end. We would recommend that the latest this is set at is the time the session/lesson is due to end. As a default the time will always show 60 minutes from the time the scene was selected.
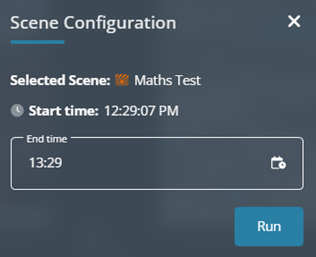
Once you have added the time in, select ‘Run’.
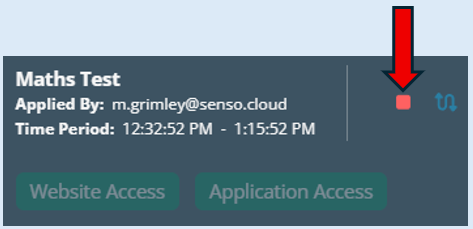
Where the ‘Run Scene’ option previously was, will be replaced with the Scene information that is now running.

You will see the title of the scene, who has applied the scene and the time period that it will be running for. If you wish to close the scene prior to the set time you can click the ‘Stop Scene’ Icon.
The scene that we have selected was set up as a ‘Automatic’ scene which means that the ‘Website Access’ and ‘Application Access’ buttons will start to run straight the way and this is indicated by the buttons being green.
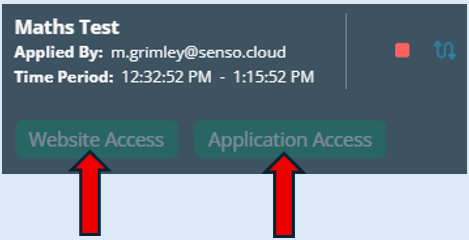
Please note – If the scene was set up as a ‘Manual’ scene the buttons would be red and you would activate them by clicking over them, they would then turn green showing that they are running.
The scene will automatically run against the whole group. Each thumbnail will have a ‘Scene Applied’ icon representing this.
The scene will automatically close once it reaches the selected ‘End Time’.