
This guide will explain how to access groups that you have been assigned to.
The groups that you have access to will appear on the left-hand side of the console.
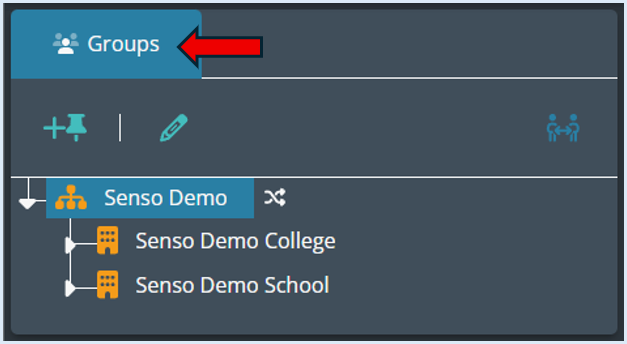
You will only see the groups that you have been given access to. If you need access to different groups, you will need to contact your IT team.
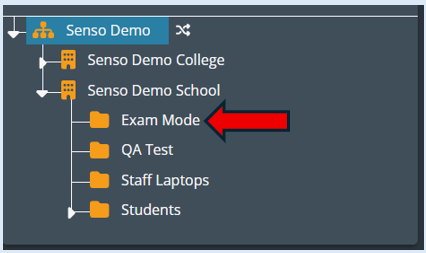
The group structure begins with the site name.
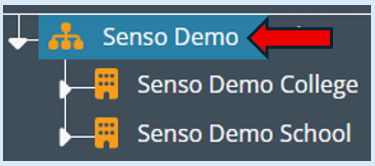
You can then click on the down arrow; this will open the establishments.
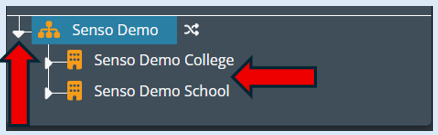
Click on an establishment to view the groups within it by clicking on the down arrow.
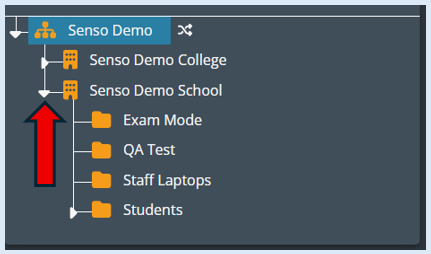
You can then click on any group to see the users/devices within it.
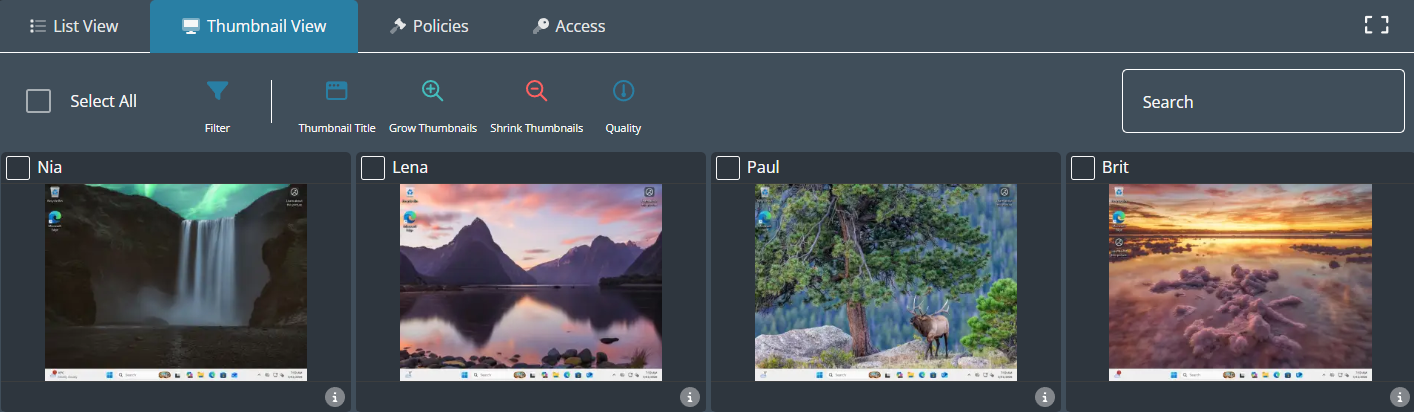
The view opens up in the default setting that has been set for your console. In this case it is the thumbnail view rather than the list view.
Additional Functionality
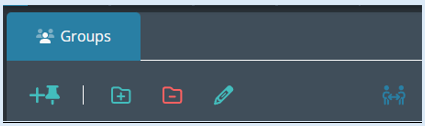
Add PIN Group

This option will allow you to create a group that is not currently in your group structure. It allows you to create an ad hoc group which the users use a pin to join.
Please see guide - Creating a PIN group.
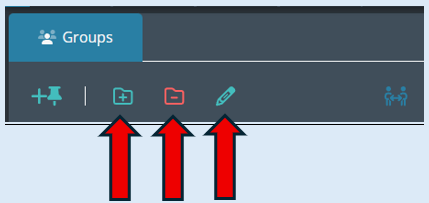
Add, Remove and Edit
These options are tools that you will only see if permission has been given to your account. These tools are primarily for the IT team to use.
Switch Integration User
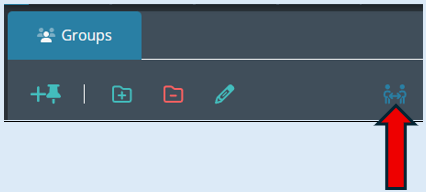
This provides the ability for a supply teacher to gain access to class groups that are synced through Microsoft Teams, Google Classroom, and ClassLink. This access ensures continuity in classroom management and provides visibility into student groups during staff absences.