
Lite Console – Broadcast Screen
This guide will explain how to access the broadcast module and how to use the functionality within it.
Accessing the Broadcast module
Once you have logged in to Senso.cloud, your console will open on the group page. Select the group that you wish to work with.
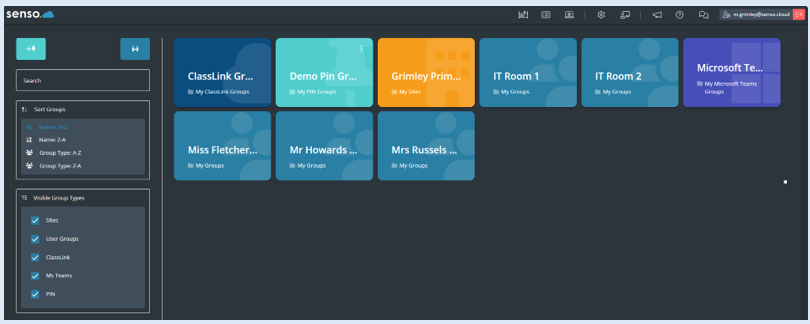
Once the group has been selected your console will appear.
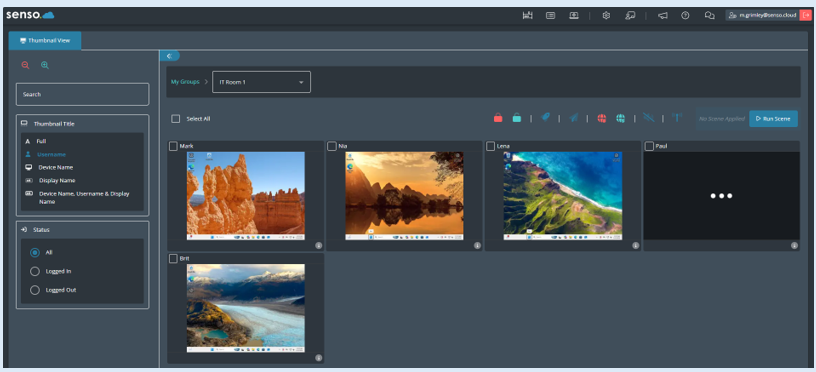
The broadcast icon can be located on the functionality dashboard.

Setting up a broadcast
The first step in setting up a broadcast is to select the devices that you wish to be part of the broadcast.
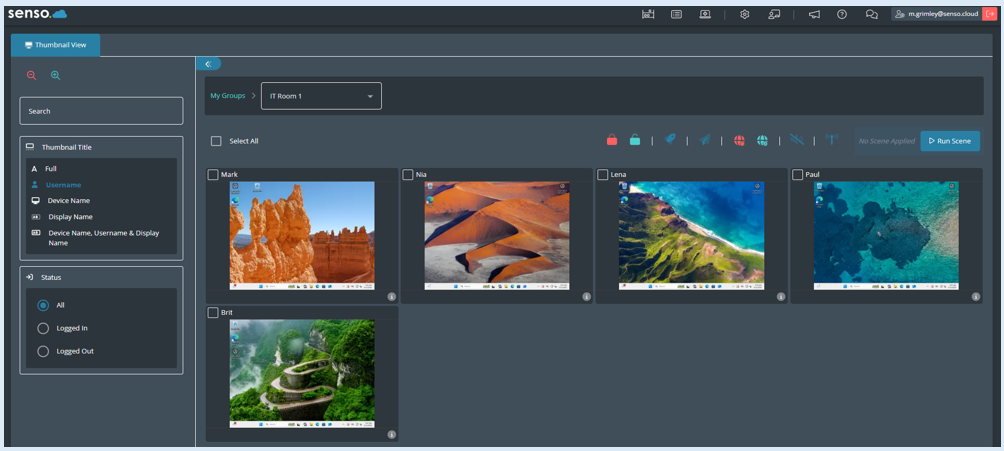
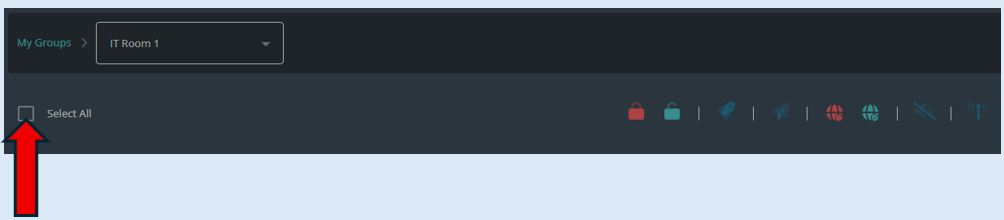
If it is the whole group, tick the ‘Select All’ icon.
Once ticked, all of the thumbnails will have a blue tick indicating that they have been selected.
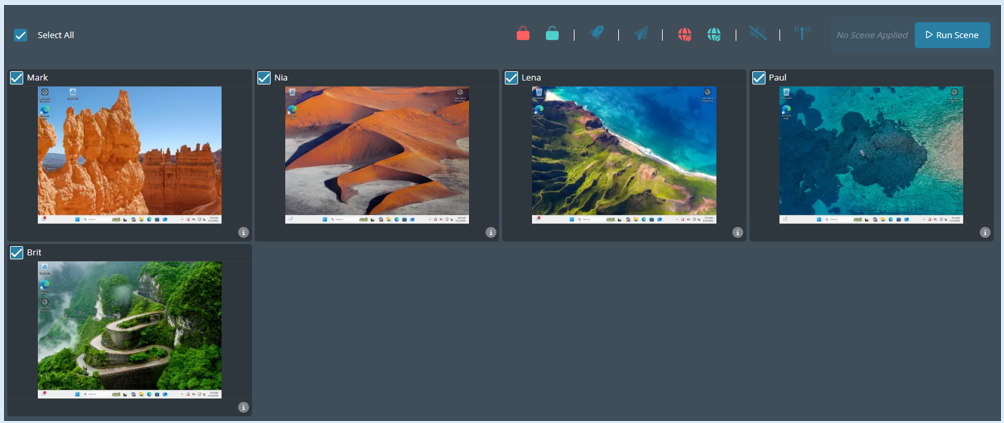
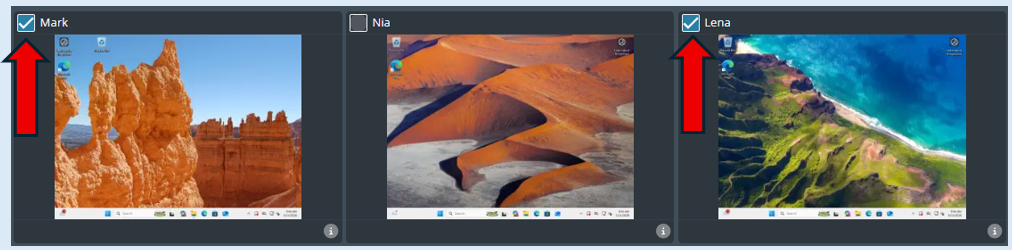
You can also just select individual devices by ticking the select box on the relevant thumbnails.
Next you will need to select the ‘Broadcast’ icon that is located on the functionality dashboard.

The options box for broadcast will open.
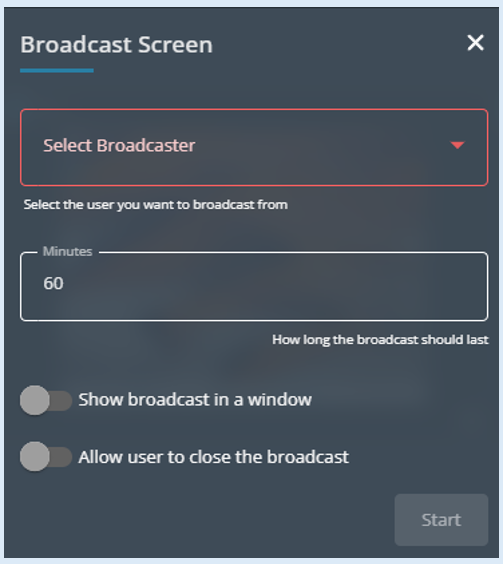
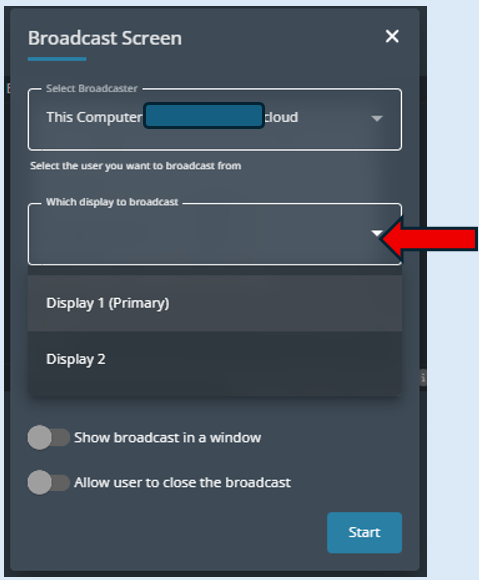
You will need to select which device the broadcast will come from. The device you are using will be at the top of the dropdown list as the default (Only if you have the client running on your machine).
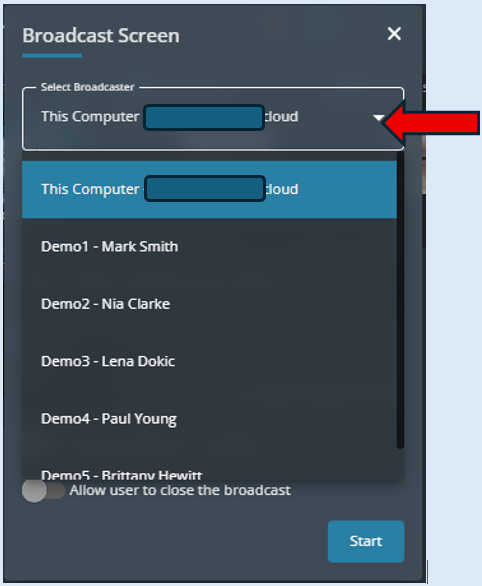
If the selected broadcaster has more than one display screen, an additional option will open that will allow you to select the screen you wish to broadcast from. Select the drop-down icon and then select which screen.
The next setting is deciding the maximum time that the broadcast can run for. This option will stop the broadcast from running over into other sessions. We would recommend that you set this to no longer than the end of your current session.
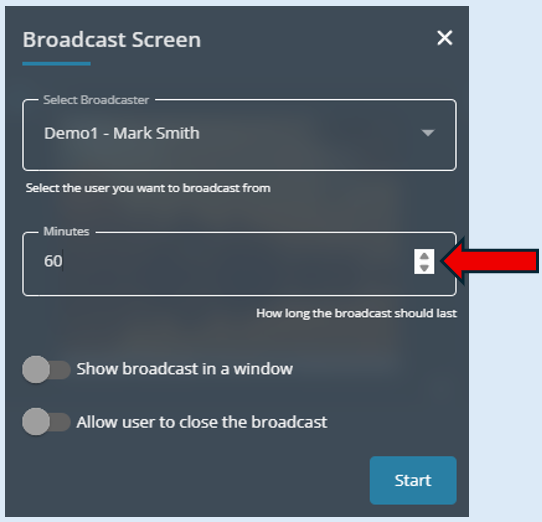
Please note - For this Broadcast the duration has been set for 60 minutes, as soon as the broadcast starts, the timer will start to count down automatically. If you pause the broadcast at any point the timer will continue to count down.
The broadcast will show as a full screen on each device unless you would prefer to show it in a window. If you prefer to show the broadcast in a window, toggle this option to the ‘On’ position.
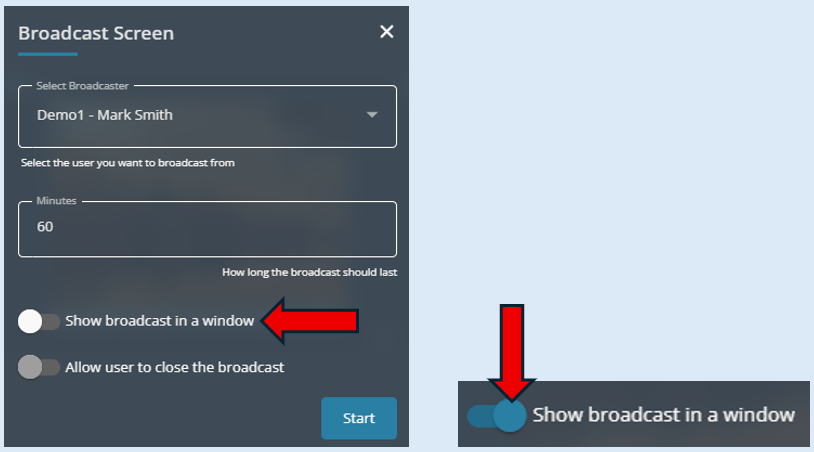
Once in the ‘On’ position, the ‘Broadcast Size’ option will appear. You can then use the sliding scale to decide how big the broadcast window will appear on the devices.
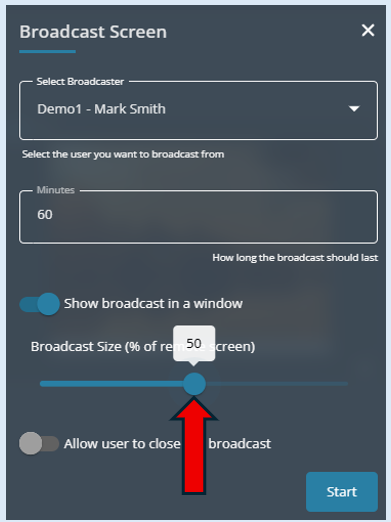
The next option is ‘Allow user to close the broadcast’. If you would like the device users to have control over the broadcast they receive, then toggle to the ‘On’ position.
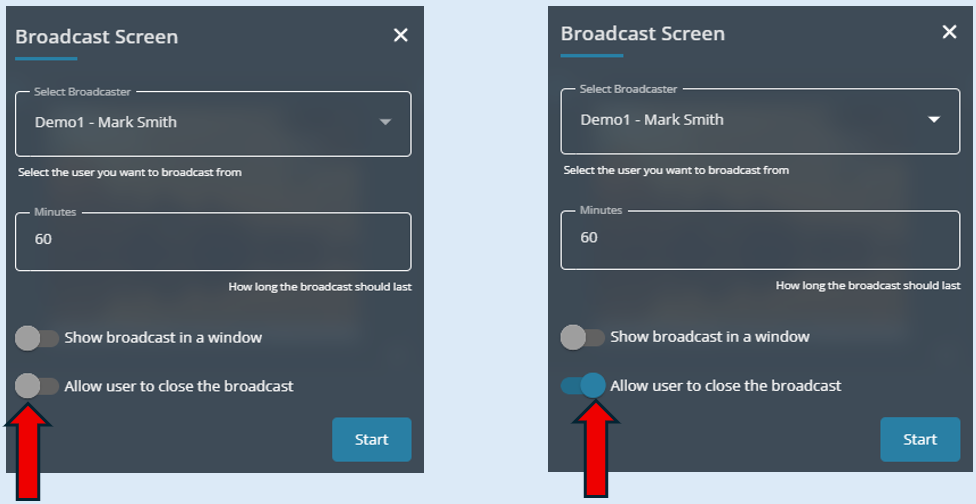
By switching this to the ‘On’ position the device user has the ability to close down the broadcast on their screen (This will not affect any other device or the actual broadcast).
The final set-up step, to start the broadcast, is to select the ‘Start’ button.
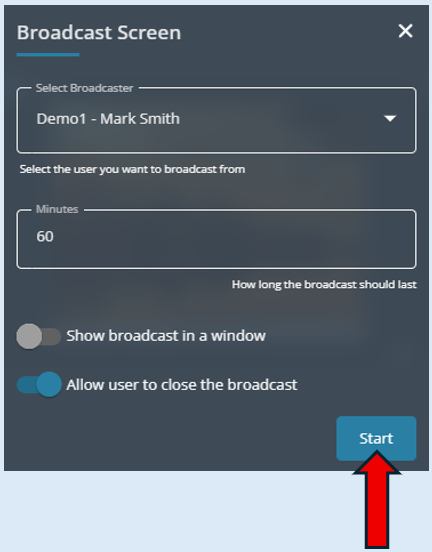
Example 1 – Full screen broadcast
A Broadcast has been set up to run from Mark’s device and will be received by Nia and Lena.
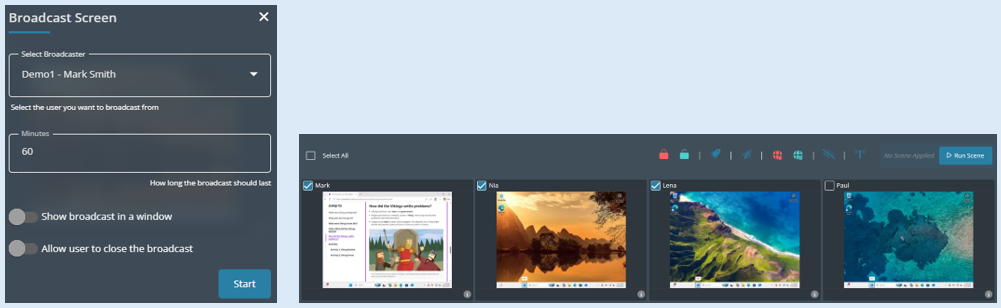
Once ‘Start’ has been selected. It will be broadcast to Nia and Lena.
Example 2 –Broadcast in a window
Broadcast has been set up to run from Mark’s device. ‘Show broadcast in a window’ has been selected, the sliding scale has been set at 50%.
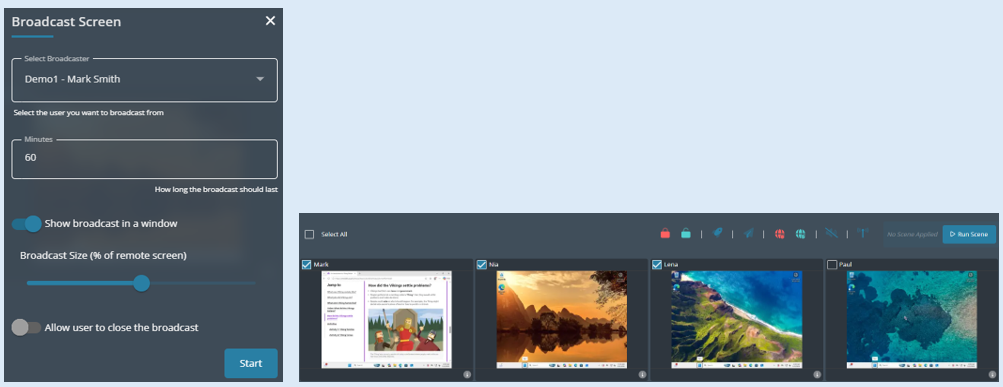
Once ‘Start’ has been selected. It will be broadcast to Nia and Lena.
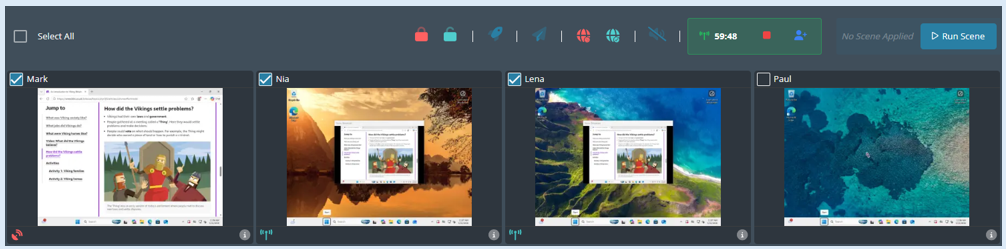
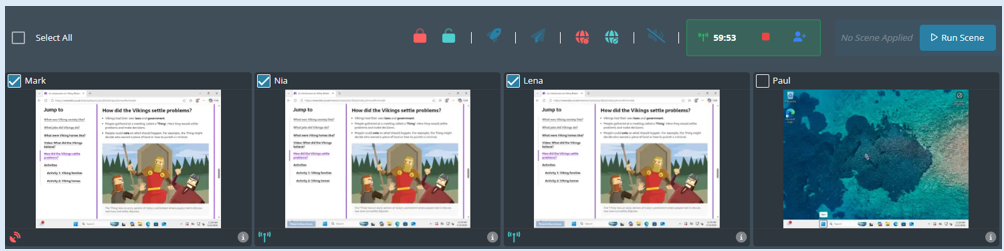
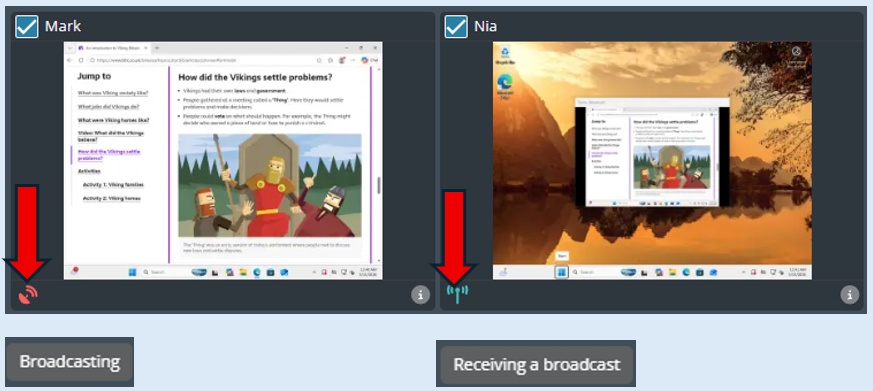
When a broadcast is running there will be two different icons that appear on the thumbnails. A red icon indicating the device that the broadcast is coming from and a green icon indicating that a device is receiving the broadcast.
Managing the broadcast
As soon as you start the broadcast, the broadcast icon will be replaced with the broadcast options box on the functionality dashboard.

This will show that the broadcast is running (The background and the broadcast icon will both turn green).
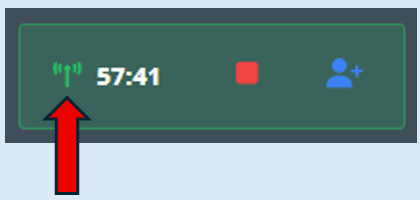
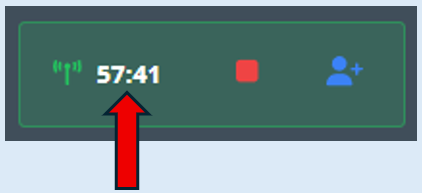
The timer will start counting down so you can clearly see how long this broadcast will play for.
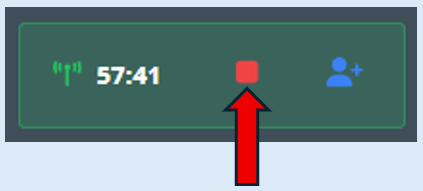
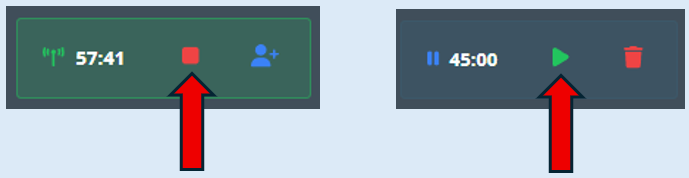
You will be able to stop the broadcast using the ‘Stop’ icon.
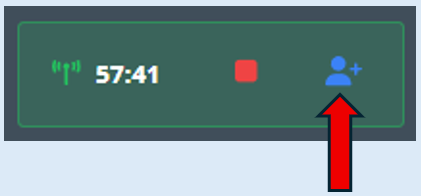
You can add additional devices to the current broadcast.
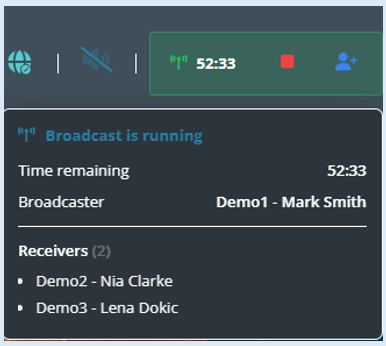
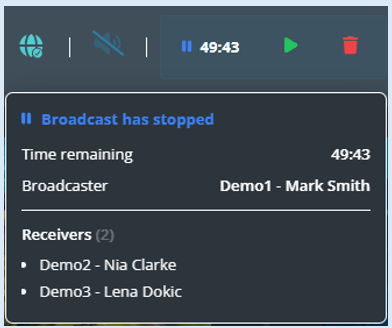
If you hover over broadcast options box with your cursor, an additional information box will appear. This provides all of the current broadcast’s details.
If you select the ‘Stop’ icon, it will be replaced with the ‘Restart’ icon.
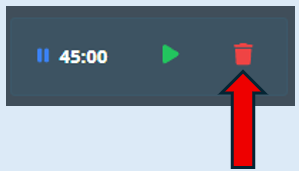
Also, the ‘Clear’ icon will appear.
If you hover over the broadcast options box, the details of the status of the broadcast will update.
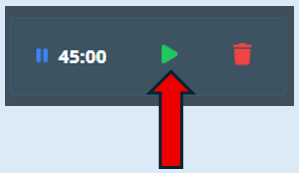
If you wish to continue with the broadcast, select the ‘Restart’ button. The broadcast will then continue.
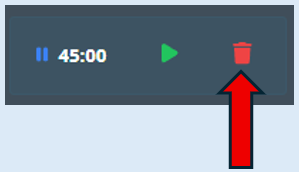
After stopping the broadcast if you would like to remove the current broadcast, select the ‘Clear’ icon. The broadcast will immediately end.
Adding Users to a broadcast
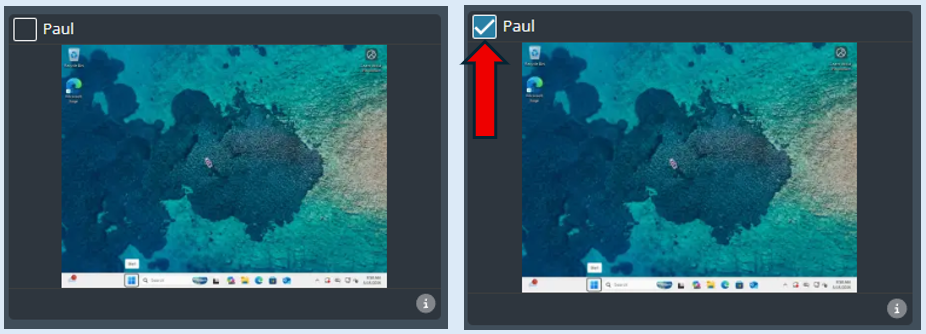
Whilst a broadcast is running you will be able to add devices to it. The first step is select which users you would like to add to the broadcast by ticking their thumbnail.
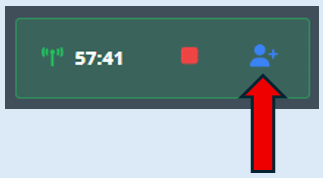
Select ‘Add User’.
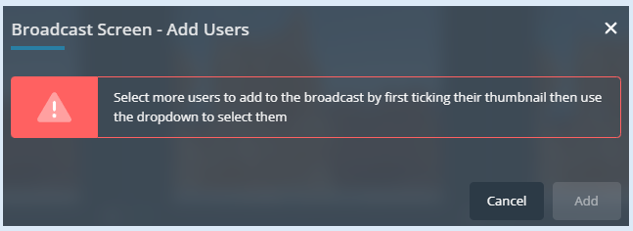
If you haven’t selected additional users and select ‘Add Users’ a notification will appear to remind you to do this first.
When you have selected a user, click on the drop-down menu icon.
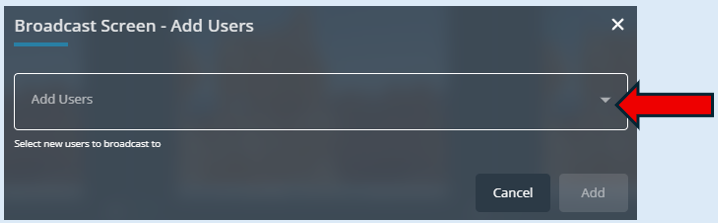
The username you have previously selected will appear in the list.
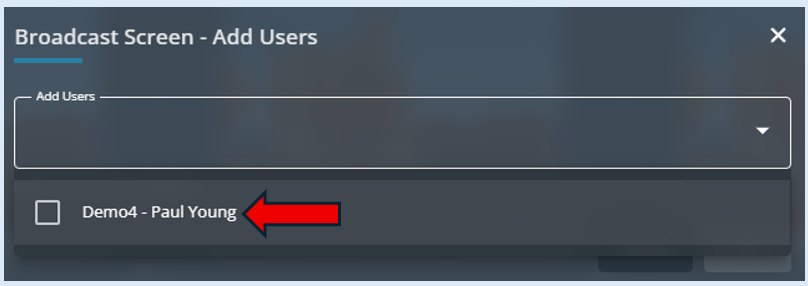
Select this user by ticking the select box, the username will now appear in the ‘Add Users’ field.
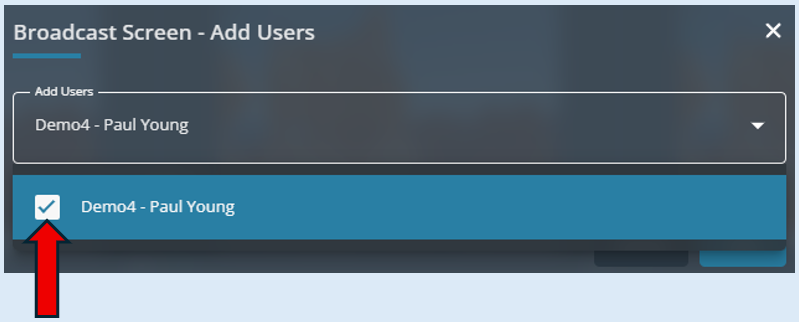
Click anywhere outside of this box, the ‘Add’ button can then be seen. Select this.
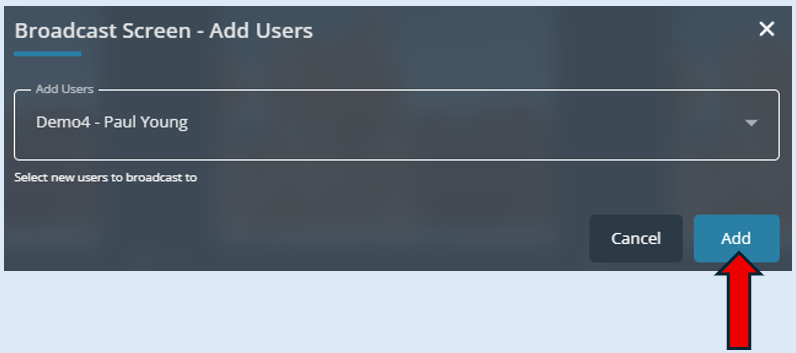
The broadcast will appear on this user’s screen and is now part of the broadcast.
Please note – You can add multiple users to a broadcast at the same time. Select the users by ticking their thumbnail. Select the ‘Add user’ icon, all the names will be available to select from when you click the drop-down list icon.
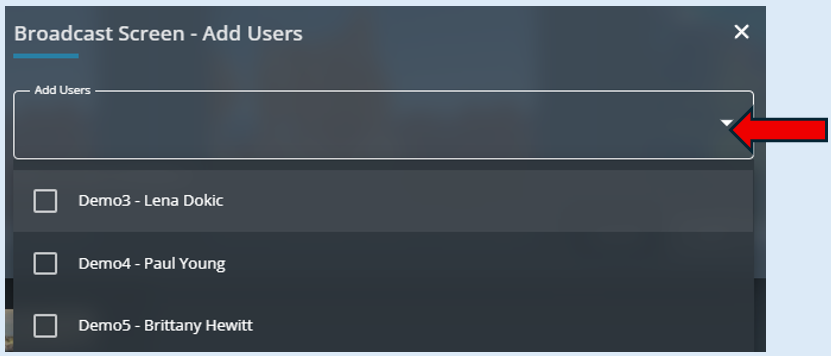
Select the users by ticking them, their names will appear in the ‘Add Users’ field.
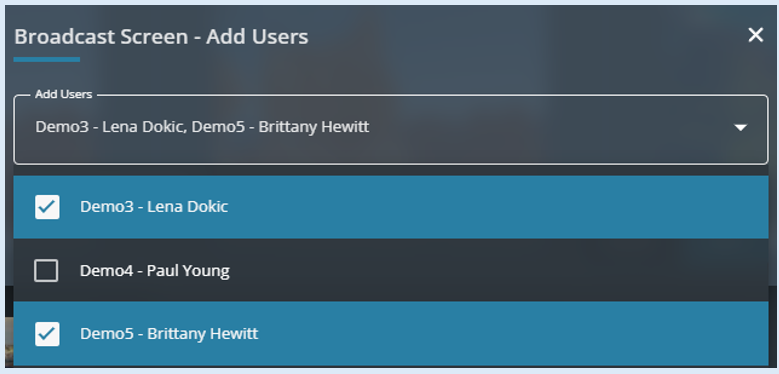
Click outside of the box, then select ‘Add’. These users will now be part of the broadcast.